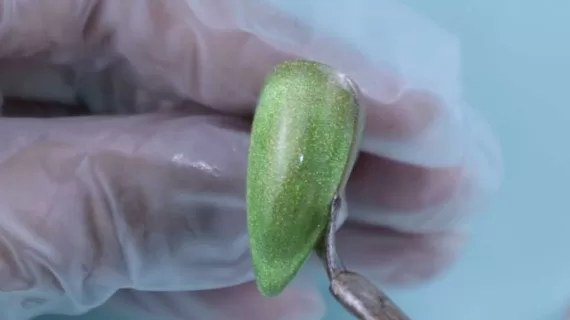
Step-by-Step Kiwi Nail Art Tutorial
In the realm of nail art, achieving perfection requires precision, the right tools, and high-quality products. This comprehensive guide will walk you through creating a stunning Kiwi nail design using Lucky Star Cat Eye 9D Gel and Brunson products. Follow these detailed steps to elevate your nail art game and impress everyone with your skills.
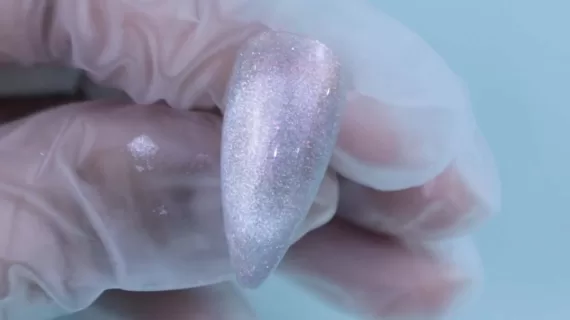
Step 1: Apply Lucky Star Cat Eye 9D Gel
Begin by preparing your nails. Ensure they are clean, shaped, and buffed to a smooth finish. Apply a base coat to protect your natural nails and enhance the adhesion of the gel polish. Once the base coat is dry, it’s time to apply the Lucky Star Cat Eye 9D Gel.
How to Apply:
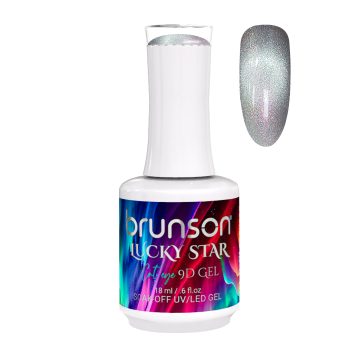
* Shake the bottle well to mix the pigments thoroughly.
* Apply a thin, even layer of the gel on each nail.
*Ensure the application is smooth and free of bubbles.
*The Lucky Star Cat Eye 9D Gel creates a mesmerizing, multi-dimensional effect that will be the base of your kiwi nail art masterpiece
AED85.00Add to cart
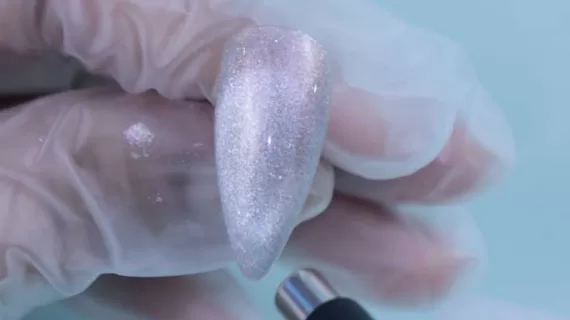
Step 2: Create the Magnet Effect with Brunson Magnet
To achieve the captivating cat-eye effect, you will need a Brunson Cat Eye Magnet. This step is crucial for bringing out the unique properties of the Lucky Star Cat Eye 9D Gel.
How to Create the Magnet Effect:
*Hold the Brunson Cylinder Magnet close to the nail, without touching the gel.
*Move the magnet slowly over the nail to create the desired effect.
*Experiment with different angles and distances to achieve various patterns and depths.
*The magnetic particles in the gel will align, creating a stunning, shifting design.

AED28.00Add to cart
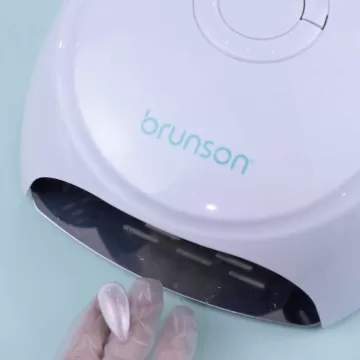
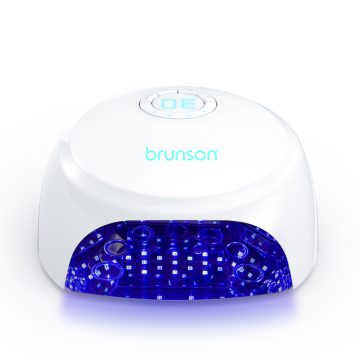
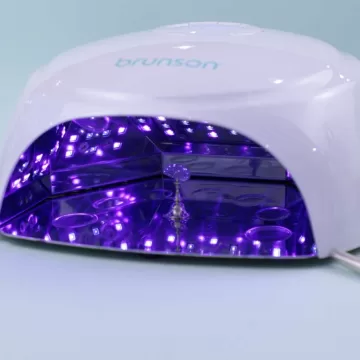
Step 3: Cure Under Brunson UV Lamp
Once you are satisfied with the magnet effect, it’s time to cure the gel under a Brunson UV Lamp.
How to Cure:
*Place your hand under the UV lamp.
*Cure the nails for 60 seconds.
*Ensure the gel is completely hardened before proceeding to the next step.
*The curing process solidifies the gel, locking in the beautiful cat-eye effect.
AED1,250.00Add to cart
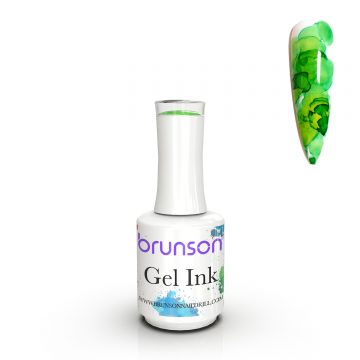
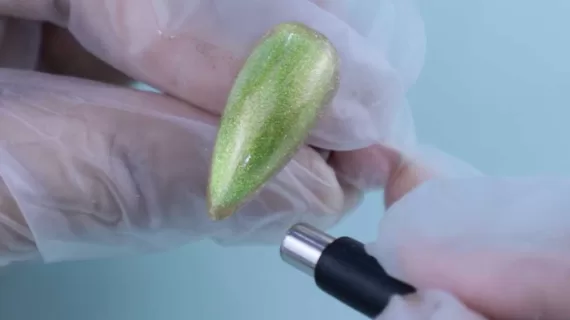
Step 4: Apply Brunson Ink Gel (009)
For added depth and color, apply Brunson Ink Gel (009) over the cured cat-eye gel.
How to Apply:
*Apply a thin layer of Brunson Ink Gel (009) over each nail.
*Let it self-dry for a few seconds.
*This step adds a translucent layer of color that enhances the overall design.
AED65.00Add to cart
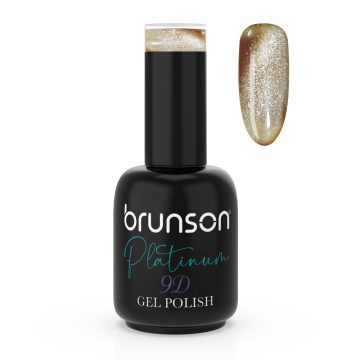
Step 5: Outline with Brunson Platinum 9D Gel (BSM510)
Next, define the edges of your nails with Brunson Platinum 9D Gel (BSM510) to add a touch of elegance and sophistication.
How to Outline:
*Use a fine nail art brush to apply the gel around the edges of your nails.
*Ensure the lines are smooth and even.
*This outlining step provides a polished and professional look to your Kiwi nail art.
AED85.00Add to cart
Step 6: Create Magnet Effect Again and Cure
Reapply the magnet effect using the Brunson Magnet on the outlined gel.
How to Create and Cure:
*Hold the magnet over the outlined gel to enhance the design.
*Cure under the UV lamp for 30 seconds.
*This additional magnet effect adds more dimension and intricacy to the design.</p
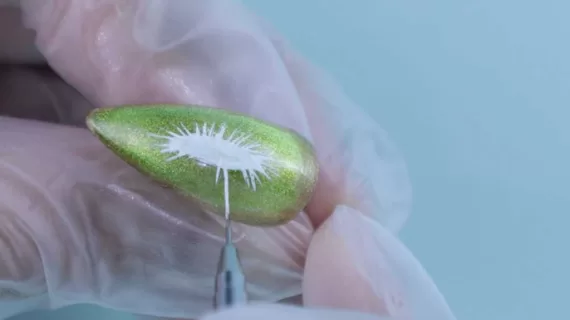
Step 7: Design with Brunson Designing Gel (DP02)
Now it’s time to get creative with Brunson Designing Gel (DPB02 and DPB01). This gel is perfect for adding the kiwi seed details in the middle of your nails.
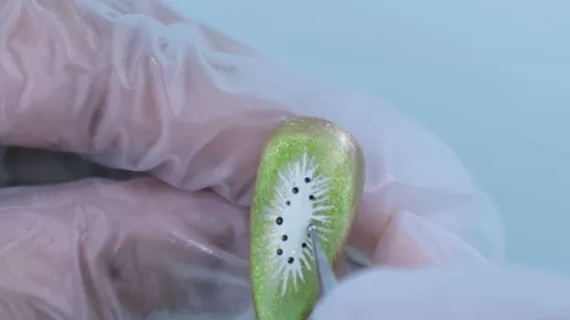
How to Design:
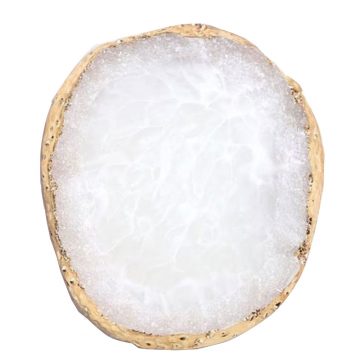
*First, put Design Gel DP02 and Design Gel DP01 in a resin stone.
*Use a Brunson fine brush to take DP02 from the resin stone and create a white circle in the middle of each nail.
*Be as creative and detailed as you like.
*The designing gel allows you to personalize your nail art with unique patterns and shapes.

AED65.00Select options
AED55.00 – AED85.00Select options
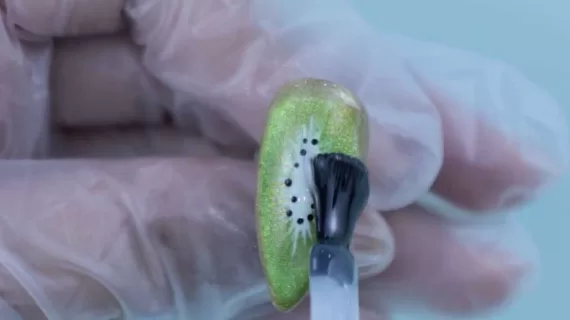
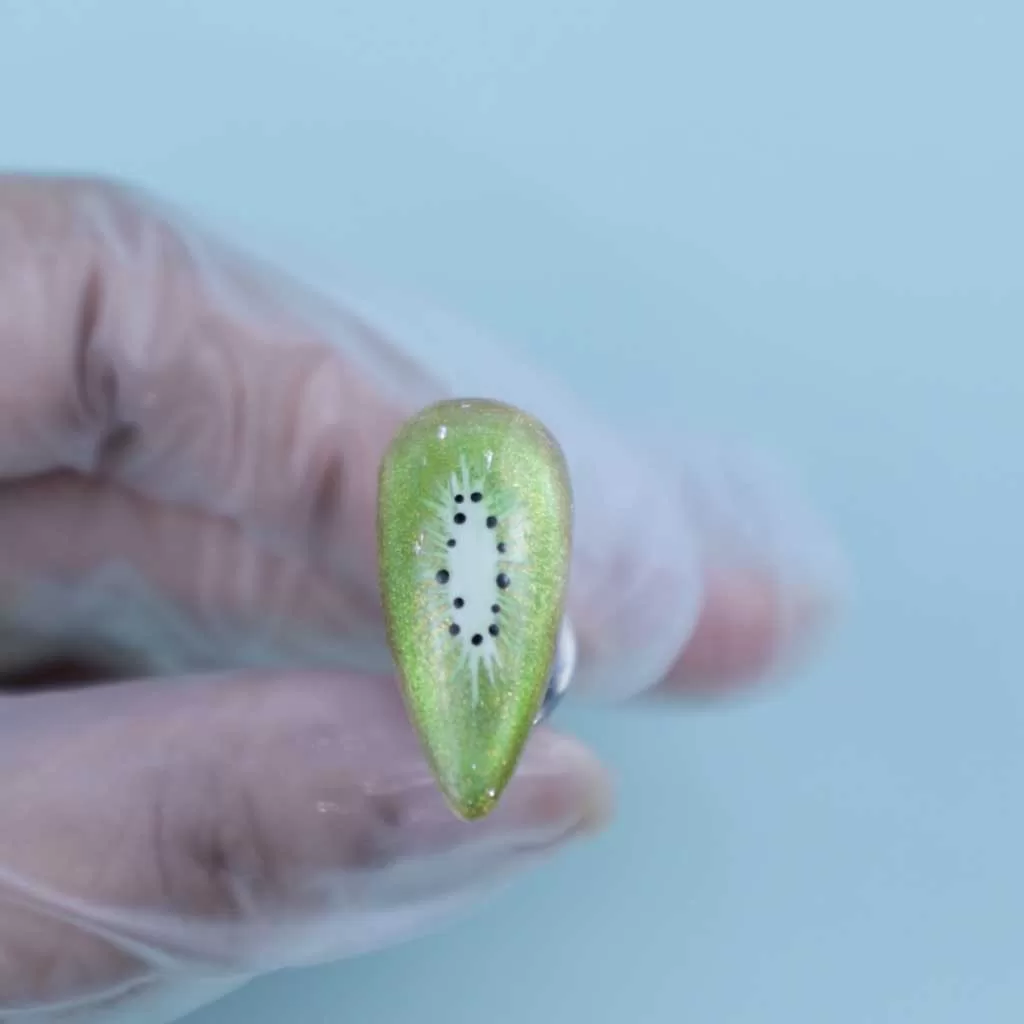
Step 8: Add Dots with Brunson Designing Gel (DP01) and Cure
For a final touch of detail, add dots using Brunson Designing Gel (DP01).
How to Add Dots:
*Use a Brunson dotting tool to place small, white dots around the kiwi seeds.
*Cure the nails under the UV lamp for 60 seconds.
*These dots add a playful and dynamic element to your kiwi nail art.

AED55.00 – AED85.00Select options
Step 9: Apply Brunson OMG Top Coat and Cure
The last step is to seal and protect your beautiful Kiwi design with Brunson OMG Top Coat.
How to Apply:
*Apply a generous layer of the top coat over each nail.
*Cure under the UV lamp for 60 seconds.
*The top coat adds a high-gloss finish and ensures your nail art lasts longer.
AED60.00Add to cart
By following these detailed steps, you can create stunning kiwi nail art that showcases your creativity and skill. Using high-quality products like Lucky Star Cat Eye 9D Gel and Brunson’s range of gels and tools will ensure your designs stand out and impress. Experiment with different designs and techniques to make each manicure unique.